My Sister’s Tiramisu Cupcakes ❥

tiramisu cupcakes 5

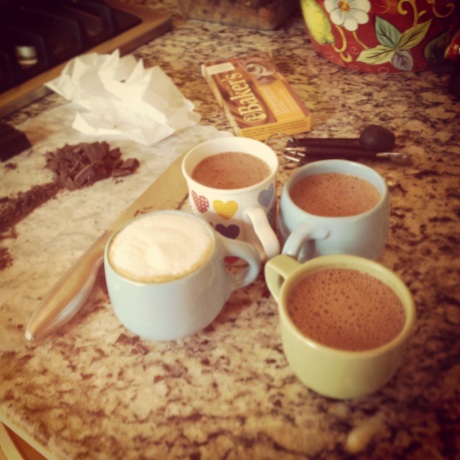
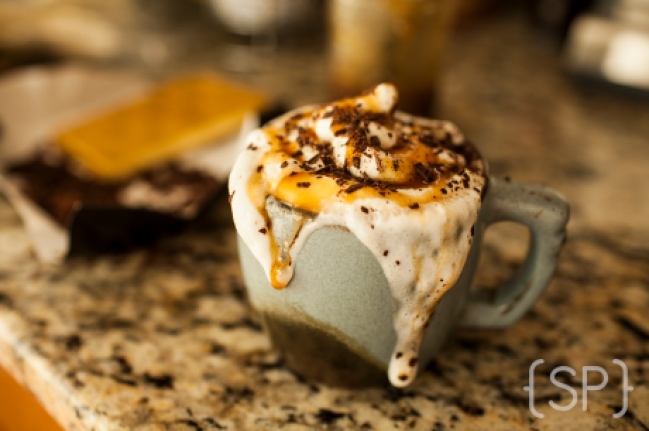
Don’t they look delicious?? Well, they taste 1,000 times better than they look. 😉 These are my sister’s Tiramisu cupcakes!  Lydia always surprises us with something unique and delicious. Whether it is a coconut cake{which is my favorite!} or oreo stuffed chocolate chip cookies, or these cupcakes. Her confections always turn out extremely delicious! A light and fluffy cupcake base, infused with espresso, and topped off with a delightfully fluffy whipped cream/cream cheese frosting & cocoa dusting!

Yield: about 28 cupcakes or 14 mugs 🙂

Ingredients

cupcakes:

  • 1¾ cups plus 2 tbsp. flour, sifted
  • 1¼ tsp baking powder
  • ¾ tsp coarse salt
  • 6 tbsp milk
  • 6 tbsp unsalted butter, at room temperature, cut into pieces
  • 5 large whole eggs plus 4 large egg yolks
  • 1½ cup sugar

Soaking syrup:

  • ½ cup freshly brewed espresso (or coffee)
  • 1 tbsp vanilla
  • 6 tbsp sugar

frosting:

  • 1½ cups heavy cream
  • 12 oz cream cheese, at room temperature
  • ¾ cup confectioners’ sugar, sifted
  • Unsweetened cocoa powder, for dusting

Directions

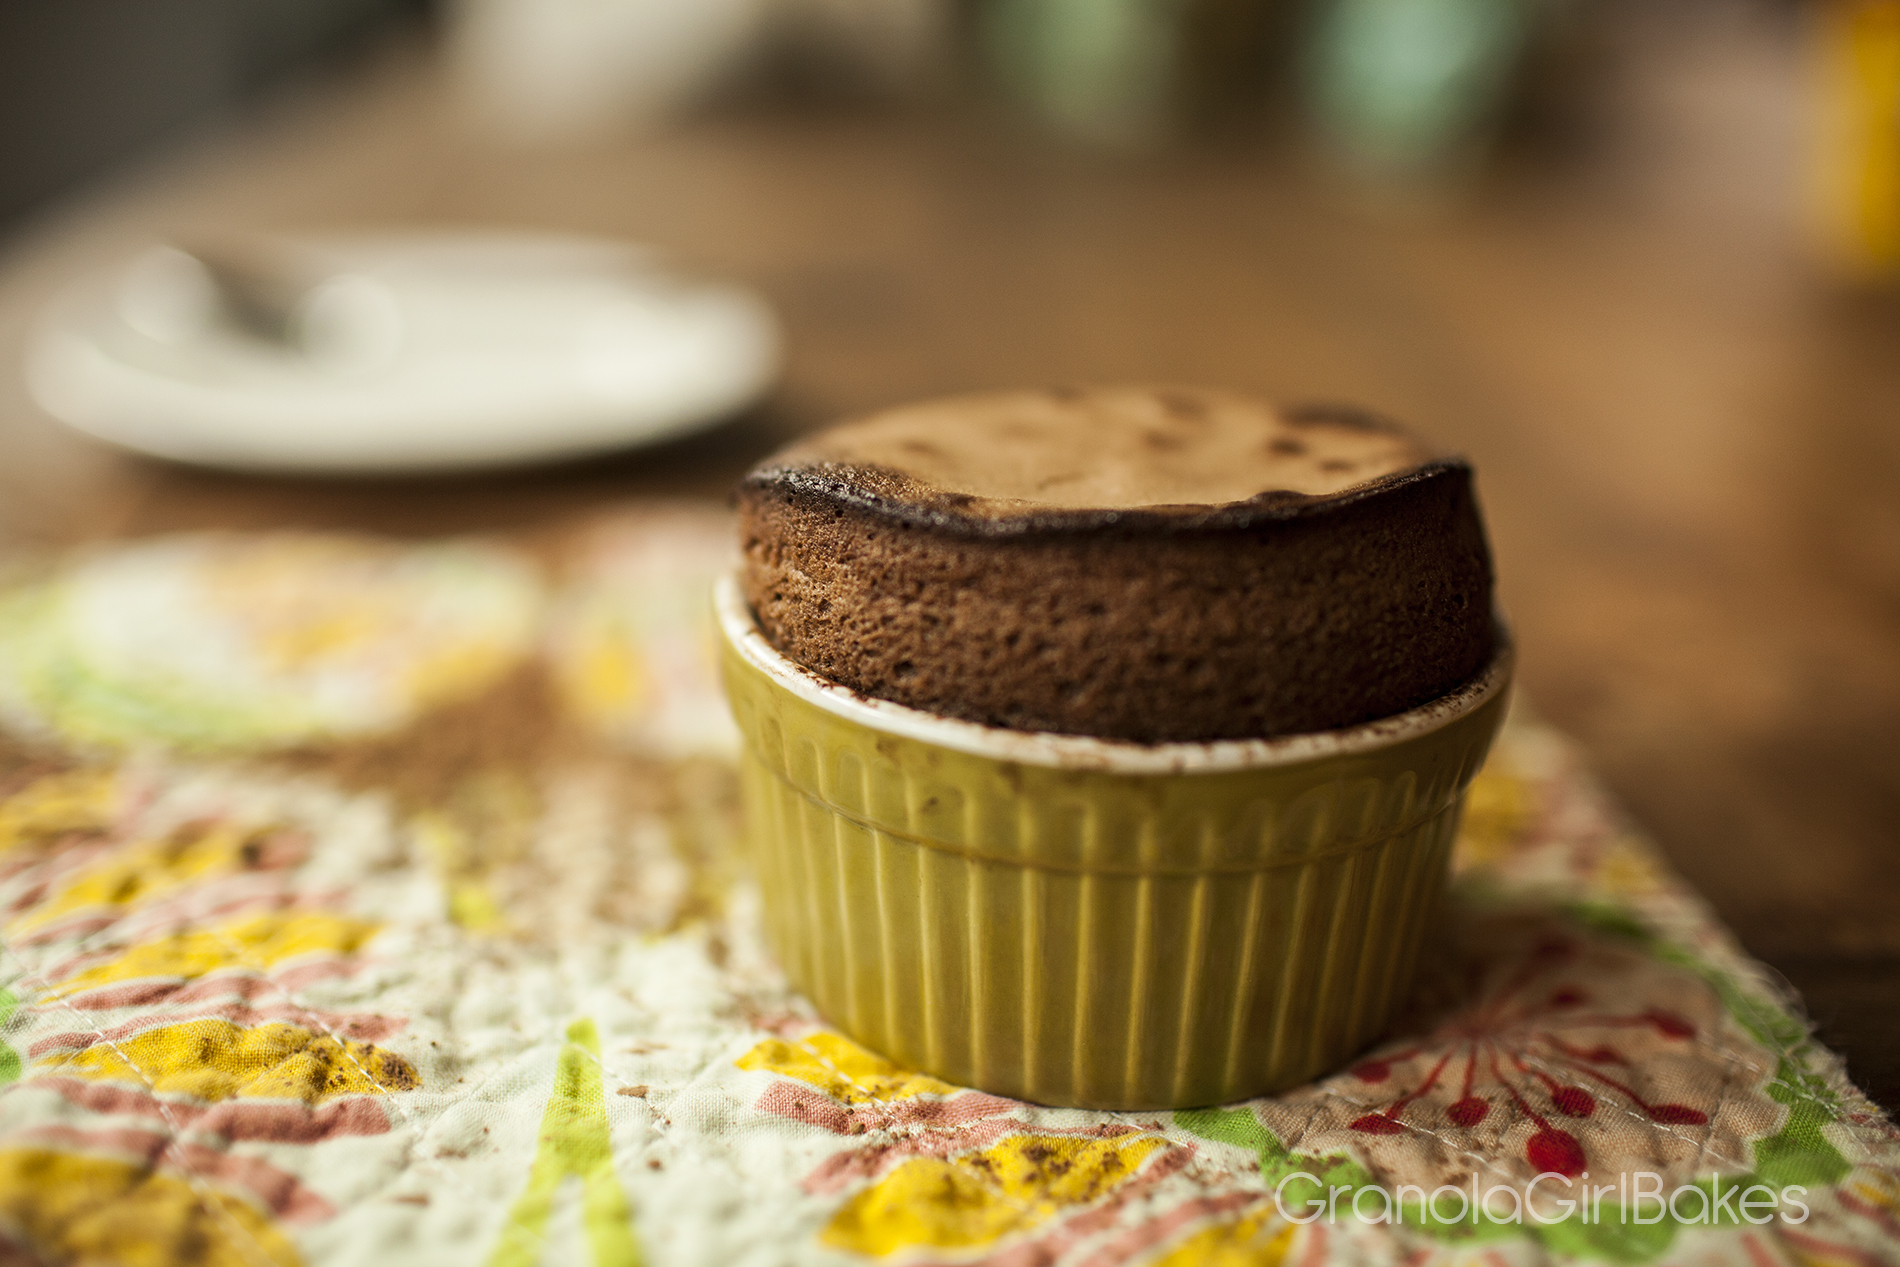
  1. To make the cupcakes, preheat the oven to 325˚ F.  Line cupcake pans with paper liners or lightly butter and flour 14 mugs/mason jars.
  2. Combine the  flour, baking powder, and salt in a medium bowl.  Whisk to blend; set aside.  Add the milk to a small saucepan.  Heat over medium-high heat just until bubbles appear around the edge of the pan.  Whisk in the butter until melted.  Let stand 15 minutes.
  3. In the bowl of an electric mixer, combine the eggs, egg yolks, and sugar.  Whisk lightly to blend.  Set the bowl over an inch or two of simmering water and heat, whisking occasionally, until the mixture is warm and the sugar is dissolved, about 6 minutes.  Return the bowl to the mixer base.  Whisk on high speed until the mixture is pale yellow and fluffy, and able to hold a ribbon when the whisk is lifted.
  4. Gently fold the dry ingredients into the egg mixture in three additions.  Stir ¾ cup of the batter into the milk mixture to thicken, then fold the milk mixture into the batter just until evenly incorporated.  Divide the batter between the prepared liners, filling them about three-quarters full.  Bake, rotating the pans halfway through baking, until the cakes are set and light golden, about 20 minutes.  Transfer pans to wire racks to cool slightly before removing from the pans.
  5. To make the soaking syrup, combine the hot coffee, vanilla, and sugar, and stir until the sugar is dissolved.  Place the warm cupcakes on a wire rack and place a baking sheet underneath to catch dripping liquid.  Use a pastry brush to brush the soaking liquid onto the tops of the cupcakes, repeating until the syrup is used up.  (This took me about four or five cycles of brushing).  If necessary, poke each cupcake a few times with a wooden skewer to help the syrup soak in.  Let the cupcakes cool completely before frosting.
  6. To make the frosting, add the heavy cream to the bowl of a stand mixer fitted with the whisk attachment.  Whip on medium-high speed until stiff peaks form.  Transfer to a separate bowl and return the mixer bowl to its base.  In the mixer bowl, combine the cream cheese and confectioners’ sugar and beat with the paddle attachment on medium-high speed until smooth and fluffy, about 2 minutes.  Fold about a third of the whipped cream into the cream cheese mixture with a spatula to lighten.  Gently fold in the remaining whipped cream until evenly combined.
  7.  Pipe a large dollop of frosting on top of each cupcake and dust with cocoa powder!
  8. ENJOY! 🙂

tiramisu cupcakes 1

tiramisu cupcakes 3
tiramisu cupcakes 4
tiramisu cupcakes 6

No-Bake Peanut Butter Cup Cheesecake | Naturally Gluten Free!

Peanutbutter cup cheesecake 17

Yes, its true! Naturally gluten-free!! 🙂 And on top of being gluten-free, it is also naturally sweetened with pure maple syrup. PLUS it’s delicious! This is a win/win dessert! 😉 Okay, so my sisters and I decided to get back to a healthy-ish way of eating lately but we have really missed the delightful combination of chocolate and peanut butter. Then I remembered this delicious no-bake cheesecake on one of my favorite cooking blogs and thought, “why not use the base to make a peanut butter cup cheese-cake!!!” A nutty crust, smooth cream-cheesy peanut-buttery filling, and a thick layer of chocolate ganache to top it off. Healthy? Well, it’s healthy-ish. 😉  So, without further ado, No-bake Peanut Butter Cheesecake!
Peanutbutter cup cheesecake.1

Yields: 1 9 inch round/12 servings

Crust Ingredients

  • 1 cup unsweetened shredded coconut
  • 1 cup sliced almonds
  • 3 TBS melted butter
  • 3 TBS Pure Maple syrup
  • dash salt

Directions

  1. In a food processor, blend coconut and almonds until fine. Add butter, maple, and salt. Pulse until blended!
  2. Press into a 9 inch spring-form cheesecake pan and set aside.


Peanutbutter cup cheesecake 12 Peanutbutter cup cheesecake 11 Peanutbutter cup cheesecake 10

Cheesecake Ingredients

  • 2 8oz pkg softened cream cheese
  • 1 cups all-natural unsweetened peanut butter
  • 1/2 cup pure maple syrup
  • 1/2 cup heavy cream
  • 1 tbs vanilla extract
  • 1/4 tsp salt

Ganache

  • 10 oz dark chocolate chips
  • 1 tbs vanilla extract
  • 3/4 cup heavy cream
  • 2 tbs butter

Directions

  1. Cream cream cheese, peanut butter, pure maple, 1/2 heavy cream, 1tbs vanilla, and salt in blender on med-high speed until fluffy(about 2 minutes.)
  2. Spread evenly over crust. Allow to cool in refrigerator for at least 1 hour(I let it set overnight)!

Ganache instructions

  1. Place chocolate chips and vanilla in heat-proof bowl.
  2. Bring heavy cream and butter to simmer over stove top then pour over chocolate chips. Let set for 3 minutes
  3. While it sets, loose cheesecake from spring-form.
  4. Once set for 3 minutes, whisk ganache until smooth and chocolate is combine!
  5. Spread evenly over cheesecake and refrigerate for at least 1 hours.
  6. Enjoy! 🙂

Peanutbutter cup cheesecake 8  Peanutbutter cup cheesecake 6  Peanutbutter cup cheesecake 5

Peanutbutter cup cheesecake 20Peanutbutter cup cheesecake Peanutbutter cup cheesecake-13  Peanutbutter cup cheesecake 16 Peanutbutter cup cheesecake 18

Vanilla Buttercream Cupcakes ♥

Vanilla Cupcakes 8 © GranolaGirlBakes.com

I  ♥ Cupcakes!! Add sprinkles to the mix and you have the perfectly perky dessert. 🙂 Last night I made Vanilla Buttercream Cupcakes. I just couldn’t help myself! The brand new container of sprinkles was calling out to me!! 😉 The base is a delightful Cream Cheese pound cake(sounds way too heavy but it really isn’t!) and the icing a sweet and rich buttercream. Yes, these are definitely sweet and you will need a few cups of coffee to finish one off but definitely fun to make!

Yields: 2 dozen 6oz glass ramekins or mugs

Ingredients

  • 1 1/2 cups (3 sticks) unsalted butter, room temperature
  • 1 bar (8 ounces) cream cheese, room temperature
  • 3 cups sugar
  • 6 large eggs
  • 1 teaspoon vanilla extract
  • 3 cups all-purpose flour
  • 2 teaspoons salt

Directions

  1. Preheat oven to 350 degrees. With an electric mixer, beat butter and cream cheese until smooth. Add sugar; beat until light and fluffy, about 5 minutes. Add eggs, one at a time, beating well after each addition. Mix in vanilla. With mixer on low, add flour and salt in two additions, beating until just combined.
  2. Generously coat 2 dozen glass ramekins or mugs(be sure they are bake-proof!) with butter and dust with flour; immediately pour in batter (usually 2 ice-cream scoopers full).
  3. Bake until golden and a toothpick inserted in the centers comes out almost clean, 20-25 minutes.
  4. Cool completely.
  5. Pipe on icing(recipe bellow) and top immediately with sprinkles!
  6. Brew a rather large pot of coffee, sit down with a few of your favorite people, and enjoy!! (:

BUTTERCREAM frosting:

  • 3/4 cup butter softened
  • 1/2 cup heavy cream (milk can be substituted)
  • 1TBS vanilla
  • 1/2tsp almond extract
  • 5-6 cups powder sugar
  1. Cream together butter, cream, vanilla, and almond extract. Add powder sugar 1 cup at a time until icing reaches the right consistency.
  2. Pipe onto cooled cupcakes and enjoy!

Vanilla Cupcakes 7 © GranolaGirlBakes.com Vanilla Cupcakes 2 © GranolaGirlBakes.com Vanilla Cupcakes 4 © GranolaGirlBakes.com

Hot Cocoa for 1

Hot Cocoa for 1! Granola Girl Bakes

Okay, so there is a bit of a hot chocolate obsession going on amongst my sisters and I. What can I say, we REALLY like chocolate! (: Not quite sure what we will do once “hot chocolate season” comes to an end?!? 😉 So, for today, Hot Cocoa for 1. Extremely delicious, perfect combination of dark chocolate & sweetness, and super quick! Add espresso to the cup and you have a pretty delicious mocha. 😉

1 Cup Hot Cocoa!

Ingredients

  • 1.5 ouces Chopped unsweetened Chocolate
  • 1 1/2 tbs Raw sugar
  • 1 cup Whole milk
  • 1/2 tsp Pure vanilla extract
  • 1 Pinch salt

Directions:

  1. Heat milk over med-high heat in small sauce pan, whisking constantly. When almost at a simmer, turn down the heat to low add the chocolate, sugar, and Salt. Whisk until melted and well combined. Add the vanilla and pour into a very happy mug.
  2. Top with a VERY LARGE dollop of freshly whipped cream or a marshmallow and ENJOY! (:

Caramel Cream Latte

caramel latte 5

It is the day before my sister’s birthday!! Yes, that is exciting. 🙂 So I decided she was entitled to a pre-birthday coffee. A very simple recipe but I have also included my home-made caramel sauce bellow which is very simple too and you will LOVE it. Home-made caramel sauce, vanilla, espresso, freshly whipped cream, and dark chocolate! What’s not to love? 😉

1 latte !

Ingredients

  • 2 Shots espresso or 1/2 cup VERY strong coffee 🙂
  • 2 tbsp Caramel Sauce(recipe bellow or you can use store-bought caramel sauce)
  • 1/2 tsp Pure vanilla
  • 1/2 cup Whole milk frothed or heated
  • Whipped cream
  • Chocolate shavings

Directions:

  1. Stir espresso, caramel, and vanilla in a cute mug.
  2. Add milk and top with whipped cream, caramel drizzle, and chocolate shavings!
  3. Thoroughly enjoy! 🙂

Home-made Caramel Sauce

Yields 1.5 cups… approximately. 🙂

  • 1 cup raw sugar
  • 6 tbsp butter cubed
  • 1/2 cup heavy cream

Directions:

  1.  First, before you begin, make sure you have everything ready to go – the cream and the butter next to the pan, ready to put in. THIS WILL BE HOT! I recommend wearing a glove or mitten when making this as it gets really hot!
  2. Heat sugar on moderately high heat in a heavy-bottomed saucepan. As the sugar begins to melt, stir vigorously with a whisk. As soon as the sugar comes to a boil, stop stirring. Swirl the pan a bit but do not stir from this point on.
  3. As soon as all of the sugar crystals have melted (the liquid sugar should be dark amber in color), immediately add the butter to the pan. Whisk until the butter has melted.
  4. Once the butter has melted, take the pan off the heat. Count to three, then slowly add the cream to the pan and continue to whisk to incorporate.
  5. Whisk until caramel sauce is smooth. Let cool in the pan for a couple minutes, then pour into a glass mason jar and let sit to cool to room temperature.

Caramel Latte caramel latte.81.23.12.7  1.23.12.9 caramel latte 3

Molten Lava Cakes

Molten Lava Cakes By GranolaGirlBakes.com

Okay, so our “no-gluten, no-dairy, no-sugar” diet hasn’t been going to great lately. Obviously! 🙂 Molten Lava Cakes…. they are healthy…. really they are! Chocolate is full of antioxidants and I hear it is a belly flattener. 😀

Okay, so these are dangerously delicious and really quick to prepare. A chocolate cake that has a slightly gooey center. Serve hot with ice-cream and you have the world’s best and quickest desert! I usually have to make 14 little cakes to satisfy my family but I have revised the recipe to make 6 generous Lava Cakes. (:

Original Recipe Yield 6 cakes

Ingredients

  • unsweetened baking cocoa
  • 6 oz semi-sweet (or dark) chocolate chips
  • 1/2cup plus 2tbs butter
  • 3 whole eggs
  • 3 egg yokes
  • 1 1/2 cup powder sugar
  • 1/2 cup flour
  • 1tsp vanilla
  • dash salt

Directions

  1. Heat oven to 450° F. Grease bottoms and sides of 6 (6oz) custard cups or mason jars with butter. Dust with cocoa powder. In a sauce pan, melt butter and chocolate chips. Allow to cool slightly.
  2. In large bowl, beat whole eggs and egg yolks with wire whisk or eggbeater until well blended. Beat in 1 1/2 cup powder sugar. Beat in melted chocolate mixture, flour, salt, and vanilla. Divide batter evenly between cups. I find an icecream scoop works wonderfully for this!
  3. Bake for 12-14 minutes or until sides are set and centers are still soft(top will puff and crack.) Let stand for 3 minutes but NO LONGER! 🙂 They are best warm.
  4. Serve with icecream and ENJOY!

1.12.8 1.12.7 1.12.6 1.12.5 1.12.4 1.12.3 1.12.2 1.12.1 1.12.12 1.12.11

Pilgrim Pies {re-blogged}

1.5.2

I made these delightful pies tonight. Yes, I have blogged these before but couldn’t help re-post them! Perfect combination of pumpkin & cream cheese frosting all bound up into a little pie. 🙂

Original Recipe Yield 12-15 “pies”

Ingredients

  • 2 eggs
  • 2 cups brown sugar
  • 1 cup softened butter
  • 1 tsp vanilla
  • 1 (15oz) can Pureed Pumpkin or 2 cups freshly pureed pumpkin(I used freshly pureed)
  • 3 cups flour
  • 1tbs pumpkin pie spice
  • 1 tsp baking soda
  • 1 tsp baking powder
  • 1 tsp salt
Filling
  • 4 oz cream cheese – softened
  • 1/2 cup butter – softened
  • 2tsp vanilla
  • 4-5 cups powder sugar

Directions

  1. Heat oven to 350 degrees .
  2. Beat eggs, sugar, oil, vanilla, and pumpkin  in large bowl. Add flour, pumpkin pie spice, soda, powder, and salt until well combine.
  3. Using an ice cream scoop(my favorite kitchen tool) or large spoon, spoon 1/4 cup dallops onto ungreased cookie sheet 1 1/2 inches apart. Bake for 11-14 minutes or until bottoms are golden. Let cool on tray for 5 minutes then remove from tray and let  cool completely on parchment.
  4. Prepare filling. Combine all filling ingredients and blend on high speed until smooth and fluffy!
  5. Pipe filling onto 1 cookie and top with the second cookie. Continue with remaining cookies and Enjoy!

1.5 1.5.1

Salted Caramel Mocha Cupcakes

This is the week of my sister’s birthday and I am excited!! 🙂 So, we decided to give her a full week of celebration! Today I made Micah Salted Caramel Mocha Cupcakes!!

Chocolate pound cake, beneath a layer of coffee, caramel, ganache, and salted caramel frosting. Top it off with a caramel drizzle and you have a cupcake that is likely to knock you out! Yes, I know. VERY RICH! Don’t try to eat the whole cupcake in one setting without an entire pot of coffee. 😉 And don’t let the layers intimidate you. The preparation really isn’t time-consuming at all!

I used 8oz disposable coffee cups(un-waxed, paper cups. Not plastic!) but you can use coffee mugs or muffin cups! 🙂

Original Recipe makes 13 rather large cupcakes!

Cake

  • 1 1/2 cups butter, softened
  • 3 cups white sugar
  • 5 eggs
  • 2 teaspoons vanilla extract
  • 2 teaspoons instant coffee granules dissolved in 1/4 cup hot water
  • 1 cup buttermilk
  • 2 cups all-purpose flour
  • 3/4 cup unsweetened cocoa powder
  • 1/2 teaspoon baking powder
  • 1 teaspoon salt

Directions

  1. Preheat oven to 350 degrees F. Grease and flour a 13 8oz coffee cups. Mix together the flour, cocoa, baking powder, and salt. Set aside.
  2. In a large bowl, cream together the butter and sugar until light and fluffy. Beat in the eggs one at a time, then stir in the vanilla. Beat in the flour mixture alternately with the dissolved coffee and buttermilk. Pour batter into prepared pan.
  3. Bake in the preheated oven for 20-25 minutes, or until a toothpick inserted into the center of the cake comes out clean. Let cool in pan for 10 minutes.

After cakes have cooled, add latte layer. Latte Layer:

  • 1 pkg cream cheese (softened)
  • 2 tbsp milk
  • 1 tbsp instant coffee
  • 2 cups powder sugar
  1. Beat all ingredients on high until light and fluffy!
  2. Spread evenly over each cupcake.

Next spread 3/4 cup caramel evenly over all 13 cupcakes.

Then Ganache:

  • 8oz Semi-sweet Chocolate Chips
  • 2 tbsp butter
  • 3/4 cup heavy cream
  • 1 tsp vanilla
  1. Place chocolate chips and vanilla in a heat proof bowl
  2. Bring butter and heavy cream to a boil. Then pour over chocolate chips and allow to set for about 4 minutes.
  3. Whist until smooth and pour evenly over cupcakes!

Now it’s time for the icing!

  • 1/2 cup caramel
  • 1 tsp salt
  • 2 sticks butter (softened)
  • 1 pkg softened cream cheese
  • 4-5 cups powder sugar
  1. Cream together the butter and cream cheese.
  2. Pour in the salt & caramel. Beat until combined.
  3. Slowly add the powdered sugar, and beat for a few minutes until really light and fluffy. Pipe over Ganache!

Last thing to do is drizzle with caramel, find 13 hungry friends, and enjoy!! 🙂


Wild Main Blueberry Oat Scones


Yes, it’s true! Not only do these have delicious wild Maine Blueberries and are sumptuous, but these scones are gluten-free!! Okay, getting serious here. My family went “gluten-free/dairy/sugar-free” for quite a while last year and some of us still TRY (notice the emphasis on try 😉 to maintain a 92.5% gluten free diet! 😉 So, I have had fun experimenting with  and making oat flour lately. Oat flour pancakes, oat flour cornbread, oat flour waffles, and now oat flour Blueberry scones sweetened with raw sugar(my favorite thus far!)

These were given 2 thumbs up by a set of parents, 4 of my sisters, and an enthusiastic 9-year-old brother. The remainder of the family has a fear of anything gluten-free so they have yet to try the scones! 🙂 Of course, seeing these scones are gluten-free, they don’t quite have the exact texture of a true scone. The texture is more of a tea cake! 🙂 So, without further ado, Wild Main Blueberry Oat Scones:

Seeing that we ran out of oat flour, I decided to grind my own


Original Recipe 8 large scones!

Ingredients

  • 3 cups Oat Flour
  • 1/2 cup raw sugar
  • 1 1/2 tsp baking powder
  • 1/2 tsp baking soda
  •   3/4 tsp salt
  •   12 tbs  butter, frozen
  • 1/2 cup dried blueberries (may be substituted for dried currants or raisins)
  • 3/4 cup sour cream
  •   2 large egg
  • 1 tsp vanilla
  • 1-2 tbs heavy cream

Directions:

  1. Adjust oven rack to lower-middle position and preheat oven to 400 degrees.
  2. In a medium bowl, mix oat flour, 1/2 cup sugar, baking powder, baking soda and salt. Grate butter into flour mixture on the large holes of a box grater(as pictured); use your fingers to work in butter (mixture should resemble coarse meal), then stir in dried fruit.
  3. In a small bowl, whisk sour cream, vanilla, and eggs until smooth.
  4. Using a fork, stir sour cream mixture into flour mixture until large dough clumps form. Use your hands to press the dough against the bowl into a ball. (The dough will be sticky in places, and there may not seem to be enough liquid at first, but as you press, the dough will come together.)
  5. Place on a lightly floured surface and pat into a 7- to 8-inch circle about 3/4-inch thick. Brush with heavy cream and sprinkle with  1 tsp. raw sugar. Use a sharp knife to cut into 8 triangles; place on a cookie sheet (preferably lined with parchment paper), about 1 inch apart. Bake until golden, about 16 to 20 minutes. Cool for 10 minutes and serve warm or at room temperature.
  6. Enjoy! 🙂

Pumpkin Spice Coffee Creamer From Scratch!

We have a thing for pumpkin and once the first day of Fall is here, it is officially “pumpkin season” at my house! 🙂 We used to consume numerous Pumpkin Spice Lattes from Starbucks but since we gave up starbucks we have had a hard time finding a good Pumpkin Spice latte flavor. Plus, we try to stay away from coffee syrups.  So, when Lydia saw this recipe she knew she needed to give it a try. And honored me with the privilege of making the Pumpkin Spice coffee creamer for her. 😉 She loved it! And for Lydia to “love it”, it means this is a spectacular recipe! Real pumpkin, pure maple, and spice makes up the perfect fall coffee. 🙂

The recipe originated from Deliciously Organic. I did add additional vanilla and cinnamon. If you prefer your coffee a little sweeter I recommend adding more maple syrup! 🙂

  • 2 cups   half and half
  • 3 tbs  pumpkin puree
  • 2 tsp of pumpkin spice
  • 4 tbs Maple Syrup
  • 3 tsp of vanilla extract
  • 2 tsp of cinnamon
  • 1/4 tsp nutmeg
  1. Whisk the half and half, pumpkin, syrup, and pumpkin spice together over medium heat.
  2. When it gets steamy remove from heat and add in the vanilla. Pour into bowl, covering, and let set for 3-6 hours in fridge.
  3. Use a strainer to transfer the cream into a jar or pitcher… do not skip this step, trust me! This will make the creamer smoother. 🙂
  4. Enjoy!